Stonewards Forge Upgrades
Spend mined ore on ammo, repairs, and randomized run upgrades at the bastion forge.
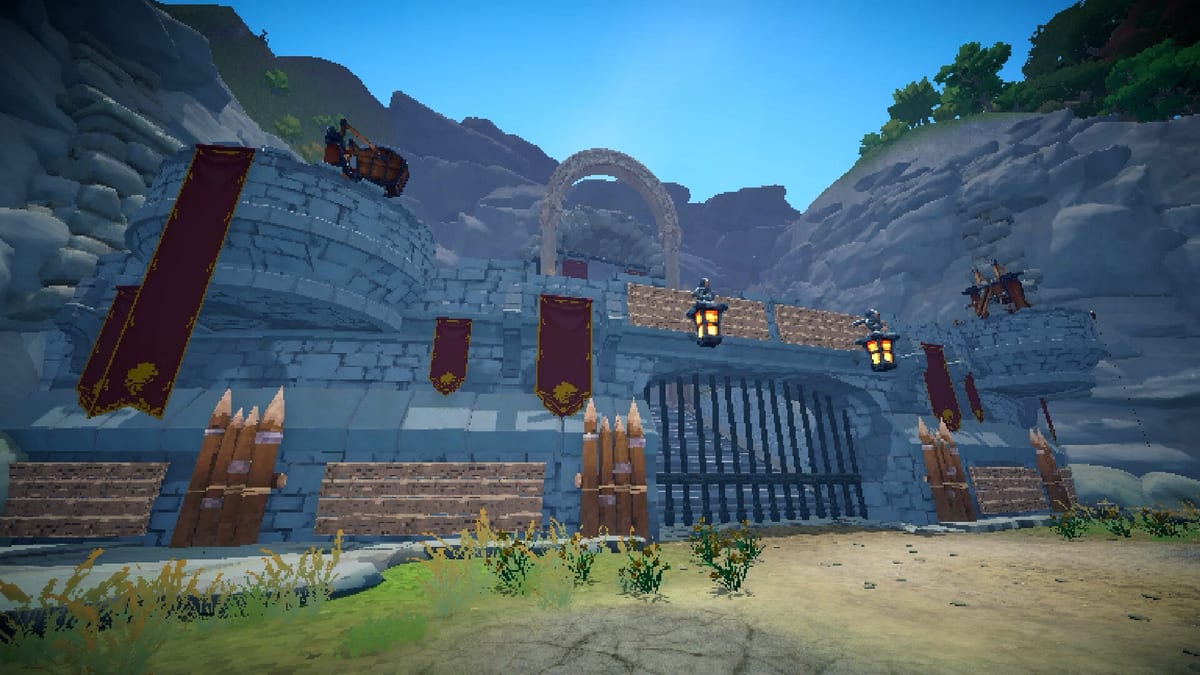
The forge is the economic heart of every Stonewards run. After a wave ends, you leave the walls with whatever ore you mined and decide—often under a visible timer—how to convert rock into survival. Banana Tiger Studio frames forging as the middle step of dig–forge–defend: without deliberate spending, the next horn finds you low on ammunition, patching the wrong wall segment, or holding a shiny upgrade that does not stop monsters from reaching the King.
This page explains what forge stations buy, how randomized upgrades work, and how to stack bonuses like super jump, knockback, armor, and craft speed without starving baseline needs.
What the Forge Actually Buys
Forge spending falls into three practical buckets that overlap at stations around the bastion:
- Combat sustain — Crafted ammunition, consumables, and weapon-adjacent buffs from crafting camps.
- Bastion integrity — Wall repair using stone and related materials at repair stations.
- Character power — Randomized upgrades and blacksmith ring offers funded by deposited ore.
These buckets compete for the same haul. A team that deposits everything into upgrade rolls may enter the next wave with full health bonuses but empty quivers. A team that only crafts arrows may survive short term while primary lanes crumble.
Use Resource Priority Checklist as a default order: urgent lane repair, baseline ammo for the next tier, then upgrades.
Randomized Upgrades and Stacking
Between waves, depositing ore at the forge can unlock randomized character upgrades for the current run. Offers vary by mission state and patch balance, but demo play consistently surfaces mobility, combat, defense, and economy categories:
- Super jump stacks — Improve vertical repositioning on walls and inner keep fallback routes. Strong for scouts who mine and ferry ore, and for defenders who need to reach breach points quickly. Diminishing returns appear if you stack mobility without damage or ammo to capitalize on angles.
- Knockback — Helps control choke points when monsters cluster at gates. Pairs with melee-capable defenders and Wave Defense lane discipline. Less valuable if your team already relies on ranged focus fire from elevated positions.
- Armor — Reduces damage taken during surface phases, buying time when repairs lag. Solo players benefit heavily because there is no teammate to absorb pressure while you craft. Co-op tanks can stack armor while miners invest in craft speed.
- Craft speed — Accelerates ammunition and station interactions, multiplying team output when one player owns the crafting camp role. Often underrated in co-op where a dedicated supplier prevents horn starts with half-loaded teams.
Upgrades are run-local. They reset when the King dies or the mission ends successfully. Do not treat them like hub meta unlocks—see How to Use the Hub for persistent progression.
Blacksmith Rings vs Forge Rolls
The blacksmith forge also presents ring choices that modify stats for the remainder of the run. Community playtests note a four-offer limit per relevant visit—pick carefully because you cannot infinitely reroll. Rings overlap with randomized upgrades: a mining speed ring plus craft speed upgrades creates a supply chain build, while combat rings suit wall defenders.
Full ring and relic detail lives in Rings and Relics. Coordinate with teammates in co-op so four players do not all grab redundant mining buffs while nobody invests in knockback or armor.
Wall Repair at the Forge Loop
Wall repair is not glamorous but it is often the highest-value forge spend. Monsters path toward the King through the weakest segments. Repairing a secondary cosmetic wall while the primary gate lane stays broken produces wipe scenes that feel like bad RNG but are actually bad priority.
Stone and related materials from caves feed repair stations. If you mine only high-tier metal and ignore structural stone, you will lose runs with full upgrade stacks. Cross-read Ores and Materials and How to Defend the King for lane identification.
Post-Wave Lobby Rewards
Separate from forge deposits, successful waves sometimes offer lobby power-ups chosen by vote. These buffs apply to the shared bastion state rather than a single character build. They interact with forge planning: a team-wide wall buff might let you defer repairs one cycle and spend ore on ammo instead.
Treat lobby picks as strategic complements, not replacements for personal forge upgrades. How to Play Stonewards explains where those votes sit in the loop.
Solo vs Co-op Forge Etiquette
Solo: You must self-fund ammo, repairs, and upgrades. Favor craft speed and armor early, then add damage or knockback once baseline spend is automated mentally.
Co-op: Call out intended deposits before spending shared ore piles. A miner dumping everything into super jump while defenders lack knockback and armor is a common demo failure. How to Co-op in Stonewards lists simple role splits.
Forge Timing and the Horn
Forge phases are not unlimited. Wave telegraphs and audio cues return whether you finished crafting. Players who treat inter-wave time as social-only often start horns mid-reload. Wave Prep Planner includes a forge checklist: ammo threshold, primary lane HP, one upgrade chosen intentionally.
When Upgrades Beat Repairs (Rarely)
Chase upgrades before repairs only when:
- The primary lane is above your agreed HP threshold.
- Ammo stocks meet the next wave minimum from Ammo and Crafting.
- The offered upgrade directly fixes your last death cause (empty mag, slow reposition, etc.).
Otherwise repairs and ammo outperform gambling.
Related Pages
- Upgrade Tier List — Relative value of common forge bonuses.
- Best Early Builds — First-run templates that assume these rules.
- Combat — Where forged power gets tested under horn pressure.
Demo and Early Access Notes
Stonewards ships a Steam demo ahead of Early Access on August 11, 2026. Exact ore costs, upgrade pools, and station names may change. The priority framework—repair lanes, fund ammo, then stack upgrades—matches Banana Tiger Studio’s advertised loop even when numbers shift.
Frequently Asked Questions
Quick answers to the most common Stonewards questions.
What does ore do at the forge in Stonewards?
Ore funds crafted ammunition, wall repairs, randomized character upgrades, and blacksmith ring choices during a run. Baseline ammo and primary lane repairs usually come first.
Do forge upgrades persist after death?
No. In-run forge upgrades and most crafted gear reset when the King dies or the mission ends. Hub progression is separate.
Should I stack super jump or armor first?
Solo players often prioritize armor and craft speed for survivability and supply. Co-op defenders may prioritize knockback and armor while miners take mobility or mining buffs.
How many ring choices do I get?
Demo feedback references four ring offers at relevant blacksmith visits. Choose rings that complement—not duplicate—your forge upgrade plan.
Where do I learn ore types for forging?
See [Ores and Materials](/items/ores-and-materials/) for what to mine, then [Resource Priority Checklist](/tools/resource-priority/) for spend order.
Can I skip wall repair if I have strong upgrades?
Rarely. Monsters path through broken lanes toward the King. Upgrades do not replace patching primary gates—see [Bastion Fallback](/combat/bastion-fallback/) when breaches happen anyway.