How to Defend the King in Stonewards
Bastion lanes, repairs, and wave survival when monsters rush the monarch.
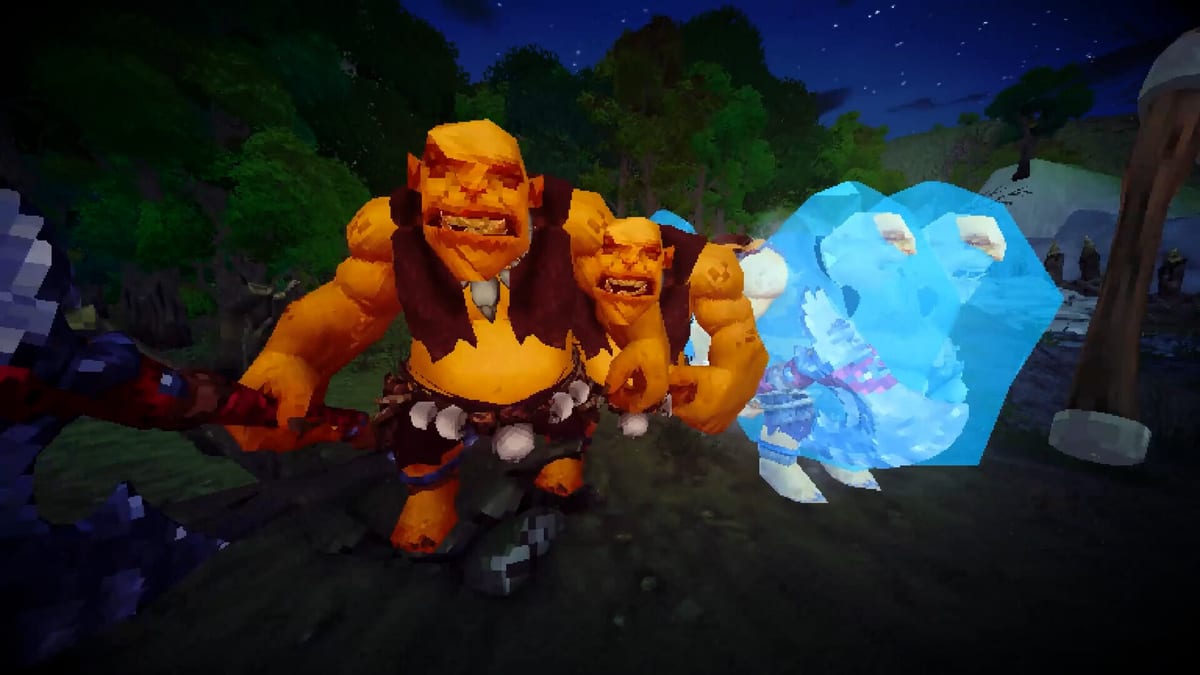
In Stonewards, the King is not a score counter or optional escort—monarch death ends the run immediately. Banana Tiger Studio built this first-person roguelite defense around that stakes model: you mine ore between waves to forge ammunition and repairs, but surface defense still decides whether your economy ever mattered. This guide focuses on keeping damage off the King during waves, using walls and positioning intelligently, and coordinating with miners so the bastion is never understaffed when pressure spikes.
The King Rule
Every defensive decision flows from one rule: if the King dies, you lose. Respawns, personal player deaths, or lost ore might be recoverable depending on build and mission; King health reaching zero is not. Treat monarch HP as a shared resource the whole team protects, not something the “surface main” alone handles.
Know Your Lanes Before Waves Start
Walk the bastion during calm moments and identify:
- Primary approach paths enemies use toward the King.
- Wall segments already damaged from prior waves.
- Choke points where narrow geometry stacks enemies for efficient damage.
- Sightlines from the King to those chokes, including obstructions you might accidentally create with bad repairs.
Map resources on the wiki will expand layout callouts as players document missions. Until then, sketch mental labels—“north breach,” “mine-side lane”—so co-op callouts are fast.
Repair Priority Order
Ore spent on the wrong wall is ore not spent on ammo. Use this repair priority during inter-wave forging:
- Segments on the shortest path to the King that are currently broken or one hit from breaking.
- Flanking openings that let enemies bypass the main choke.
- Cosmetic or redundant segments that do not change pathing.
If miners are still underground when repairs complete, finish ammo crafting next—entering a wave with patched walls but empty magazines still yields King damage as enemies leak through sustained pressure.
Positioning During Waves
Standing on the King is rarely optimal. Instead:
- Hold chokes one layer out so enemies stack before reaching monarch range.
- Rotate when elites or jump-capable enemies threaten flanks—call “flank” early, not after the King is hit.
- Reload behind cover aligned with choke sightlines so you re-enter firing without crossing open ground.
First-person perspective hides peripheral spawns. Brief glances toward secondary lanes between reloads catch split routes faster than staring at one doorway.
For weapon handling and enemy type priorities, see Combat as it grows on the wiki.
Ammo Economy Is Defense
Defense is not only walls. If you cannot kill waves before they saturate a breach, repair costs explode and the King eats chip damage. Forge enough ammunition each cycle for the next tier, not the last one. Players who barely survived wave four with leftovers often fail wave five because spawn density jumped while they mined greedily.
Pair ammo planning with How to Mine Fast so ore income matches forge output. Builds pages will document upgrade lines that reduce ammo panic or improve repair efficiency.
Co-op Defense When Miners Are Late
Co-op teams fail when wave spawn coincides with two players still in caves. Surface anchors should:
- Call wave status clearly (“telegraph,” “spawned,” “elite north”).
- Prioritize elites heading toward the King over trash on side lanes if manpower is low.
- Delay risky repairs mid-wave—patch only breaches enemies are actively using.
When miners surface late, do not chase depth grudges mid-wave. Win the spawn, then discuss timers after. How to Co-op in Stonewards covers reset habits between runs.
Solo Defense Adjustments
Solo players cannot rely on a surface anchor. You must:
- Return from mines before telegraphs, every cycle.
- Pre-position near the primary choke with full mags.
- Accept shorter mine trips so defense never lacks your full attention at spawn.
Solo King deaths often trace to “one more node” mining, not inability to aim. Fix timing first; tune Controls second.
Upgrades That Help Defense
Randomized forge upgrades vary by run, but favor options that:
- Increase sustained DPS on choke stacks.
- Improve repair efficiency or wall durability.
- Add crowd control that stalls elites near the choke, not on the King.
Luxury economy upgrades are tempting when walls feel stable—take them only if ammo reserves already cover the next wave forecast.
Between-Wave Checklist
Before descending to mine again, confirm:
- Primary lane repaired to safe threshold.
- Ammo crafted for expected next wave.
- Team knows who stays surface if timer is tight.
- King area clear of blocking props or bad deployables.
When Defense Fails Despite Good Play
Sometimes missions or modifiers spike difficulty beyond your current hub power. If repeated losses happen with disciplined mining and repairs, visit How to Use the Hub for persistent upgrades and easier mission selection rather than only tweaking surface aim.
New players should read Getting Started and How to Play Stonewards for loop context. Tools may later host DPS or repair calculators—use them when published.
Frequently Asked Questions
Quick answers to the most common Stonewards questions.
Does the King respawn if he dies?
No. King death ends the run immediately in Stonewards. All defense strategies assume you prevent monarch health from reaching zero.
Which walls should I repair first?
Repair segments on the shortest active path toward the King, then close flanks that bypass your main choke. Cosmetic distant walls can wait.
Should I stay next to the King during waves?
Usually hold one layer outward at chokes so enemies stack before reaching monarch range. Rotate when flanks are called.
What if teammates are still mining when a wave starts?
Surface players focus elites and breaches toward the King and call spawns clearly. Miners should abort and return—late arrivals cause most preventable monarch damage.
How does defense connect to mining and forging?
Ore from [How to Mine Fast](/guides/how-to-mine/) fuels ammo and repairs between waves. Skipping forge work leaves defense undersupplied even with good positioning.
Where can I learn enemy priorities and weapons?
See [Combat](/combat/) for enemy behavior and weapon tips as those pages are expanded on the wiki.