Bastion Layout in Stonewards
Read wall lanes, throne sightlines, and inner choke points before horns test your repairs.
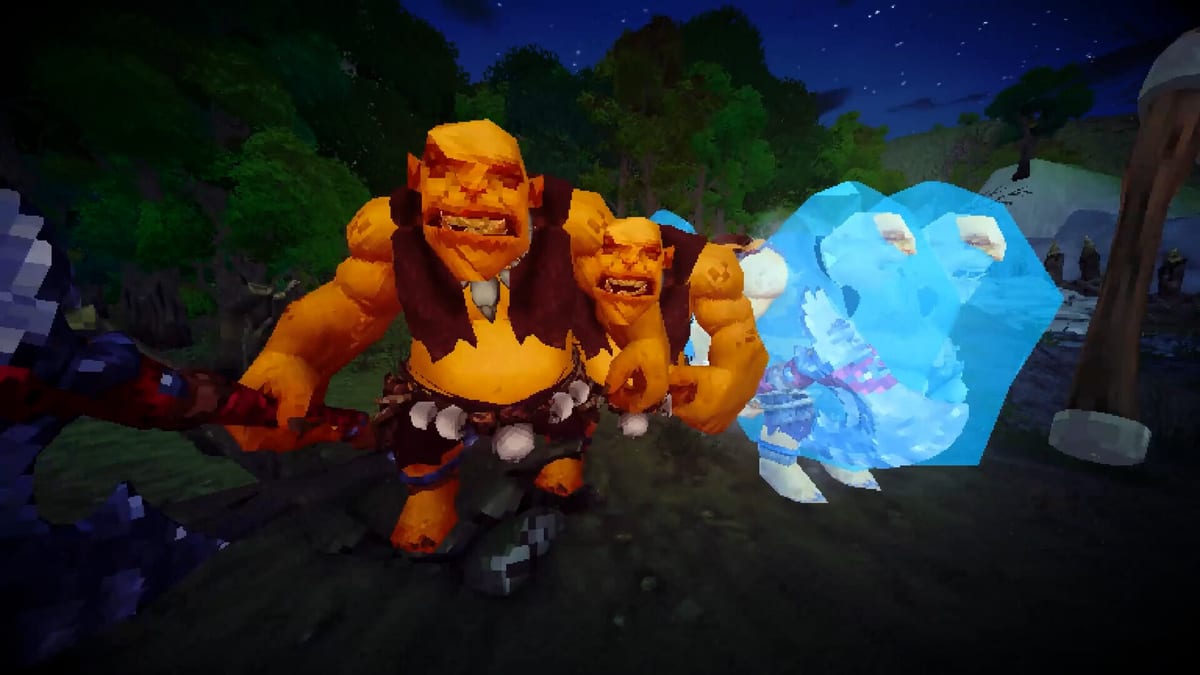
The bastion is the mission battlefield—a dwarven stronghold you defend while monsters assault from outside approach lanes. Unlike procedural mines, bastion geography follows readable design goals each mission: outer walls absorb first contact, inner corridors narrow pathing toward the King, and forge or stockpile stations sit where miners convert ore between horns. Learning layout turns panic into rotation: you know which segment is primary, where fallback choke points form, and how miners return from caves without crossing active fire lanes.
Core Landmarks to Identify Horn One
Before the first assault, locate these landmarks as a team or solo runner:
- The King and throne room — your fail condition anchor.
- Mine entrance / cave mouth — economy phase start point.
- Stockpile and forge stations — ore spend locations.
- Primary outer lane — shortest monster path toward the King.
- Secondary lanes — flank routes rushers exploit when primary is staffed.
- Inner gate or choke — preferred Bastion Fallback position.
Spend thirty seconds walking the perimeter during setup if the mission allows. Layout knowledge is free defense.
Outer Wall Layer
Outer walls are the first integrity check. Segments have functional states—damaged enough that pathing opens—and cosmetic states that look bad but see no traffic. Monsters follow practical openings, not aesthetic cracks on unused faces.
Defenders on outer walkways gain elevation for arrow fire but risk isolation if rushers flank. Assign at least one anchor who can retreat inward without jumping down into enemy clumps. Pair outer duty with Wave Defense repair priorities: the lane that broke last horn gets ore first.
Inner Corridors and Choke Points
When outer integrity fails, inner corridors compress enemy count into manageable widths—if you hold the correct choke. Good chokes offer:
- Limited approach angles toward the King.
- Line of sight for ranged defenders behind the anchor.
- Quick path from forge to resupply without crossing monster traffic.
Bad chokes open the throne to multiple simultaneous angles or force defenders to stand inside monster swing range to protect the King. Identify bad chokes during horn one so you do not default to them under stress.
King Position and Sightlines
The King remains near the throne; you bring the fight to him, not escort him away. King-side defenders prioritize intercepting anything that slips past outer layers—even low-health rushers—because monarch damage ends runs instantly.
Maintain partial sightlines from outer walls to throne approach so flex defenders can rotate before damage ticks. Complete blind spots in layout are fixable with positioning callouts, not new construction mid-run.
Forge, Stockpile, and Traffic Flow
Economy stations sit inside or adjacent to defensible space so miners deposit ore without crossing entire maps. Traffic flow matters in co-op:
- Runners should use paths that do not interrupt anchor line of sight.
- Crafters should not block choke retreats while forging last-second ammo.
- Miners entering caves should not cut through active outer lanes during live horns unless no alternative exists.
When traffic jams happen, horns feel harder than enemy tuning because defenders lose seconds—not because monster stats changed.
Mine Entrance Relative to Walls
Ideal layouts place mine entrances where miners can surface and reach stockpile quickly. Worst cases force long outdoor crossings while monsters path nearby. When your mission has awkward entrance placement, bias shallow mining and pre-craft ammo on surface before diving—see Mines and Caves for timing rules.
Mission Variants and Distress Calls
Store fiction sends dwarves from hub base camp to nearby kingdoms in distress. Missions may rotate bastion silhouettes, approach directions, or environmental modifiers even if core landmarks persist. Re-identify primary lane each deployment; do not assume yesterday’s choke matches today’s map facing.
Layout Drills for Co-op Groups
Run these verbal drills before hard missions:
- “Primary lane is ___, secondary is ___.”
- “Fallback choke is ___.”
- “Stockpile path from mine is ___.”
- “King guard stands ___.”
Thirty seconds of callouts prevent five minutes of fallback chaos.
Solo Layout Priorities
Solo players simplify to three rules:
- Never lose track of mine-to-stockpile round trip time.
- Repair primary lane before exploring entire perimeter.
- Pre-select fallback choke before outer integrity fails.
Solo cannot cover multiple outer lanes simultaneously—accept that secondary breaches require immediate inward rotation rather than heroic multi-lane repair fantasies.
Linking Layout to Combat Pages
Layout is the map layer beneath combat tactics:
- Monster Types tell you what to shoot.
- Wave Defense tells you when to craft and repair.
- Bastion Fallback tells you how to move inward.
- Bastion layout tells you where each action happens.
Use Wave Prep Planner to turn landmark identification into a repeatable horn checklist.
Common Layout Mistakes
- Repairing unused wall faces while primary lane pathing stays open.
- Standing on outer walkways with no retreat route when rushers spawn.
- Forging with your back to throne approach, missing King-side leaks.
- Mining entrance routes that cross active monster paths during horns.
- Assuming symmetric bastions mean symmetric threat—pathing algorithms disagree.
Related Reading
Return to Map Hub for other location guides. Hub explains between-run staging before you deploy here. How to Defend the King adds procedural defense tips that assume layout familiarity from this page.
Frequently Asked Questions
Quick answers to the most common Stonewards questions.
Does every Stonewards bastion look identical?
Missions may vary stronghold silhouettes and approach directions. Core landmarks—King, mine entrance, forge, walls—repeat, but re-scout primary lane each deployment.
Which wall should I repair first?
The primary lane monsters used last horn—the shortest path toward the King. Ignore pretty but unused segments early.
Where is the best fallback choke?
The narrowest inner corridor with throne sightlines and limited approach angles. Identify it during horn one via [Bastion Fallback](/combat/bastion-fallback/).
How does layout affect mining?
Mine entrance placement determines return time to stockpile. Awkward layouts require shallower mining—see [Mines and Caves](/map/mines-and-caves/).
Should the King move during fights?
No. You defend the throne area; monsters come to him. Layout planning rotates defenders, not the monarch.
What tools help remember layout tasks?
Use [Wave Prep Planner](/tools/wave-prep/) for pre-horn landmark checks and [Resource Priority Checklist](/tools/resource-priority/) after mining.