Stonewards Builds
Forge upgrades, tier lists, and ore spending plans for solo and co-op runs.
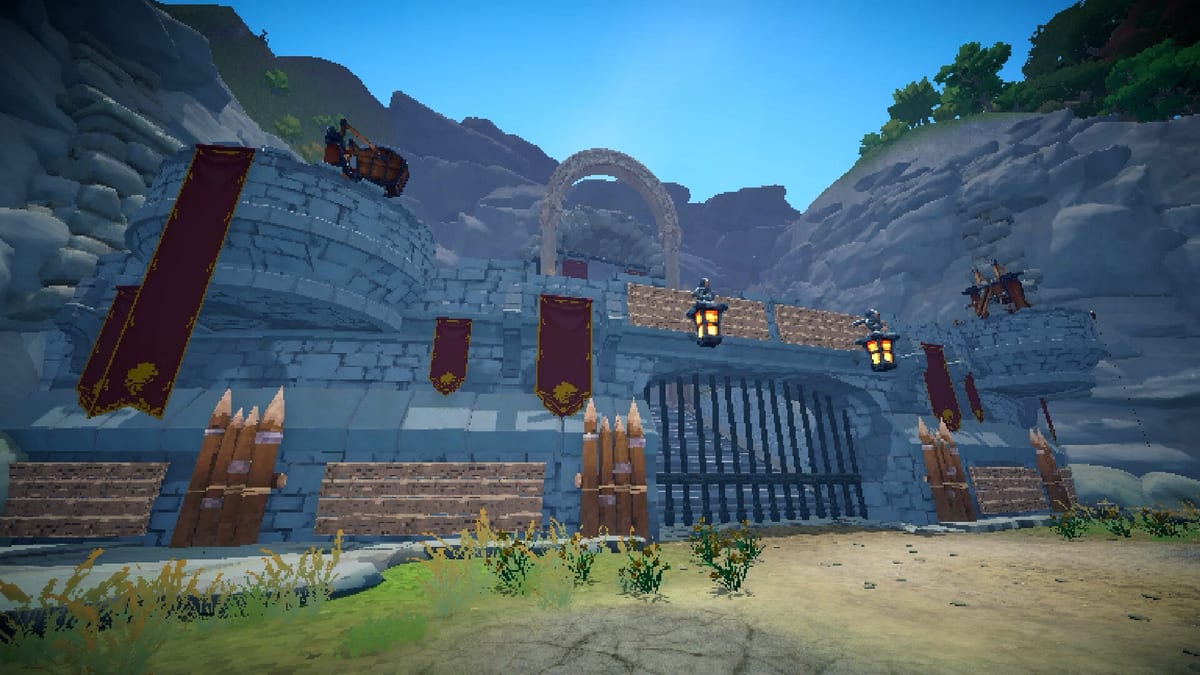
Builds in Stonewards are not static talent trees you unlock once—they are run-to-run decisions made at the forge between monster waves. Mined ore pays for ammunition, wall repairs, and randomized character upgrades that stack into recognizable playstyles: knockback bruisers, super-jump scouts, armor tanks, and fast crafters who keep the team supplied. This hub collects build-focused pages so you stop treating every forge deposit as a coin flip.
What Build Pages Cover
Banana Tiger Studio designed the dig–forge–defend loop so economy choices directly affect surface combat. A build that ignores baseline ammo to chase a flashy upgrade will fail on wave four even if wave two felt easy. The pages here explain how to read forge offers, prioritize repairs, and align upgrades with your role in solo or co-op.
Builds Index
Forge and Upgrade Planning
- Forge Upgrades — How the forge spends ore, what randomized upgrades appear, and when to repair walls instead of rolling power.
- Upgrade Tier List — Which forge bonuses consistently outperform others in demo and Early Access runs, with caveats for co-op roles.
- Best Early Builds — First-run loadouts for miner and warrior starts, including safe ore budgets before wave five.
- Ammo and Crafting — Crafting camp priorities, arrow stockpiles, recycling trade-offs, and keeping weapons loaded during horns.
- Bonus Cards — Post-wave lobby votes for team-wide buffs like campfire regen, and how voting differs from personal blacksmith forge upgrades.
How Builds Connect to Items and Combat
Forge choices assume you brought the right ore back from caves. Read Ores and Materials to understand which nodes fund repairs versus upgrade rolls. Weapons and Gear explains how starting class gear interacts with forge bonuses. Rings and Relics covers the blacksmith ring limit and long-term stat stacking.
On the surface, builds only matter if they survive contact. Pair these pages with Wave Defense for ammo cadence and Bastion Fallback when your wall-repair build still breaks. Resource Priority Checklist turns theory into a repeatable spend order before each horn.
Solo vs Co-op Build Philosophy
Solo players need self-contained builds that cover mining, crafting, and fighting. Upgrades that boost craft speed and movement often outperform pure damage early because you cannot delegate ammo production. Co-op squads can specialize: one player stacks mining and ferry speed while defenders invest in knockback, armor, and weapon upgrades. How to Co-op in Stonewards explains role splits that make specialized builds viable.
Recommended Reading Order
- Forge Upgrades if you are unsure what the forge actually buys.
- Best Early Builds after one or two failed runs.
- Ammo and Crafting when you die with an empty quiver.
- Upgrade Tier List once you understand baseline survival needs.
- Bonus Cards when co-op votes feel random or conflict with forge plans.
Guides and Tools to Pair With Builds
Build pages describe what to buy; procedure pages describe when. Start with How to Play Stonewards if the forge phase still feels rushed. How to Mine Fast ensures you actually have ore to spend. Use Wave Prep Planner before difficult mission tiers.
Staying Current
Stonewards heads into Early Access on August 11, 2026 with active balance passes on forge offers and upgrade pools. Tier positions and recipe costs may shift in patches. Treat this hub as a decision framework—baseline ammo, primary lane repairs, then upgrades—not a frozen spreadsheet of every numeric value.
Frequently Asked Questions
Quick answers to the most common Stonewards questions.
What counts as a build in Stonewards?
Your run build is the combination of forge upgrades, crafted ammo, equipped rings, and gear choices made between waves. Most in-run power resets when the King dies.
Which build page should I read first?
Start with [Forge Upgrades](/builds/forge-upgrades/) to learn ore spend categories, then [Best Early Builds](/builds/best-early-builds/) for first-run templates.
Do builds differ for solo and co-op?
Yes. Solo favors self-sufficiency upgrades like craft speed and armor. Co-op allows specialization—see [How to Co-op in Stonewards](/guides/how-to-coop/) alongside [Ammo and Crafting](/builds/ammo-and-crafting/).
Where do rings and relics fit into builds?
Rings from the blacksmith forge stack with randomized upgrades. Read [Rings and Relics](/items/rings-and-relics/) for the four-choice limit and relic synergies.
Should I follow the tier list before learning the forge?
Learn baseline forge rules first. [Upgrade Tier List](/builds/upgrade-tier-list/) matters most after you consistently survive early waves with ammo and repairs covered.