Stonewards Post-Wave Bonus Cards
Lobby votes that grant team-wide buffs—separate from personal blacksmith forge spending.
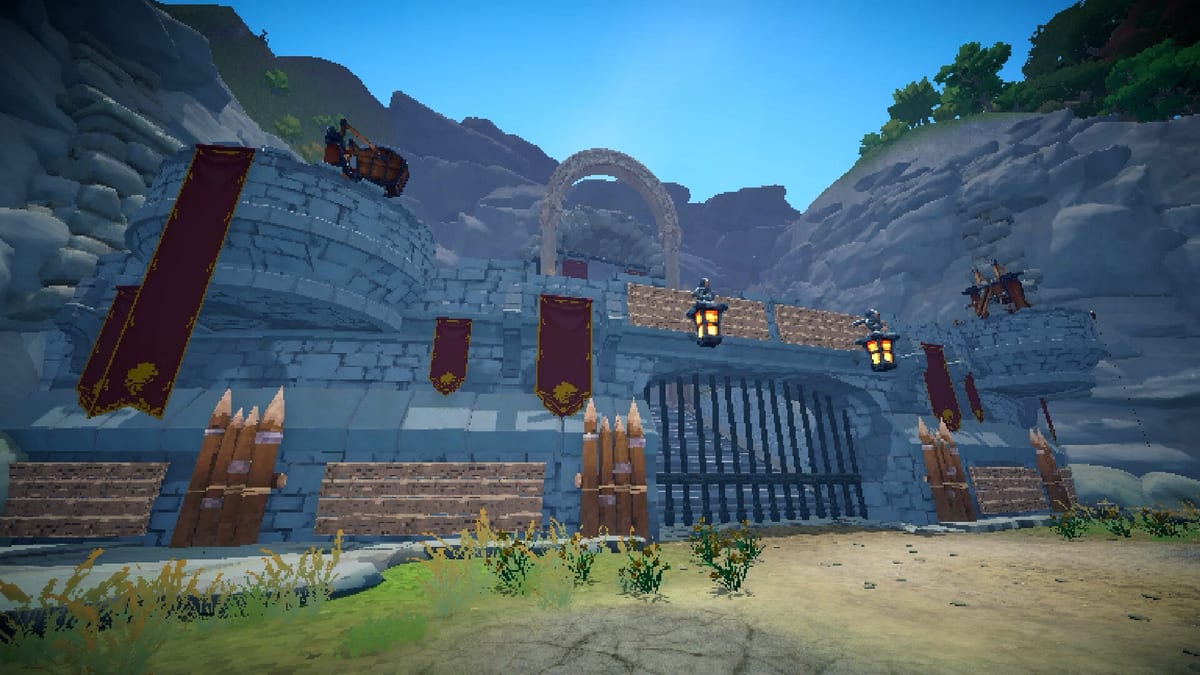
After a successful wave in Stonewards, the bastion does not jump straight back into mining. Banana Tiger Studio inserts a post-wave bonus card phase where the squad votes on team-wide rewards before the next economy window opens. These bonus cards are not personal forge upgrades, blacksmith ring picks, or hub meta unlocks—they are shared buffs chosen democratically in the lobby-style vote screen that every connected player sees.
Understanding bonus cards prevents the most common planning mistake: treating them like extra forge rolls. A player who dumps all ore into randomized upgrades while ignoring the card vote may still lose the next horn because the team skipped a wall integrity card or a campfire healing card that would have stabilized the run.
Where Bonus Cards Sit in the Loop
The dig–forge–defend cycle has a clear rhythm once you internalize it:
- Defend the King during the horn assault.
- Vote on bonus cards if the wave cleared successfully.
- Mine procedural caves during the economy phase.
- Forge at stations—blacksmith, crafting camp, wall repair, recycling, chest opener, campfire.
- Repeat until wave eleven milestone, endless escalation, or hub extraction.
Bonus cards occupy step two. They happen before you re-enter caves, which means the chosen buff influences how aggressively you can mine next window and how much ore you must reserve for repairs versus gambling at the blacksmith.
Cross-read How to Play Stonewards for the full phase diagram and Forge Upgrades for personal spending that happens later in step four.
Team-Wide Votes vs Personal Forge Upgrades
The distinction matters for co-op etiquette and solo planning alike:
Bonus cards (lobby vote):
- Chosen by team vote—majority or tie-break rules apply to all connected players.
- Apply team-wide or bastion-wide effects for the remainder of the run (or until the card says otherwise).
- Do not consume ore directly—you pick from offered cards, not from your mined stockpile.
- Examples from demo playtests include wall integrity buffs, shared damage auras, economy bonuses, and campfire regeneration cards that enhance healing near the revive fire.
Blacksmith forge upgrades (personal spend):
- Funded by your deposited ore at the blacksmith forge.
- Offer personal randomized upgrades—super jump, knockback, armor, craft speed—and four ring choices per relevant visit.
- Compete with crafting camp arrows, wall repair stone, and recycling camp trade-offs.
A team that votes campfire regen while one player hoards ore for a fifth knockback stack is playing two different games. Align card picks with forge plans: if the vote grants healing near campfire, you can defer one repair cycle and fund ammo instead—see Campfire and Revive for how that buff interacts with resurrection.
How Voting Works in Practice
Public demo sessions show a card selection UI after wave clears. Each player sees the same offer set—typically two or three cards—and clicks a preference. The winning card applies to everyone in the session, including late joiners if matchmaking rules allow same-version play.
Practical voting habits that reduce arguments:
- Call your vote before clicking so two players do not split evenly on complementary picks.
- Weight King survival over personal DPS fantasies when the run is shaky—wall buffs and healing cards outperform damage when primary lanes are cracked.
- Remember endless mode after wave eleven: cards that scale sustained defense or economy often beat burst picks when horns never stop.
- Solo players still vote—you are the entire team, so pick what fixes your last failure mode, not what looks flashy on a thumbnail.
If your group skips voice chat, use Steam overlay or text to say “wall card” or “campfire card” before the timer expires. Silent teams default to whoever clicks fastest, which is rarely optimal.
Example: Campfire Regeneration Card
Campfire regen cards illustrate why bonus cards belong in build planning. The bastion campfire already resurrects fallen teammates and provides healing between waves—core systems documented in Campfire and Revive. A bonus card that amplifies regeneration near that station changes forge priority:
- Defenders who expect to trade damage on primary lanes can fight closer to campfire radius knowing regen ticks faster.
- Teams may revive downed players more aggressively mid-window because the card reduces the penalty of a bad horn exchange.
- Ore that would have gone into armor upgrades can shift toward crafting camp arrows if healing covers survivability gaps.
This is the opposite of a blacksmith ring that only buffs one dwarf’s mining speed. The card buffs everyone near the fire—coordinate positioning during the next assault so injured players can fall back to regen without abandoning the King lane entirely.
Card Categories You Will See
Exact card names rotate in patches, but categories repeat in demo feedback:
Defense and structure — Wall integrity, repair efficiency, or bastion-wide damage reduction. Pick these when Bastion Fallback happened last horn or when stone hauls were thin.
Economy and mining — Ore yield, mining speed aura, or stockpile bonuses. Strong when your team runs three defenders and one miner—see Tips and Tricks for role splits.
Combat and control — Team damage, knockback aura, or consumable charges. Best when walls are stable and ammo stockpiles are full per Ammo and Crafting.
Healing and campfire — Regeneration near campfire, revive speed, or post-wave heal pulses. Pair with resurrection mechanics after patch 0.1.10 fixes to carrying dead players.
Wildcard luxury — Niche effects that shine in endless mode after Bosses and Elites at wave eleven and beyond.
Coordinating Cards With Forge Stations
Bonus cards do not replace station visits. After voting, you still need:
- Crafting camp arrows from mined metal.
- Wall repair stone from cave hauls.
- Blacksmith deposits for personal upgrades and one of four ring choices.
- Recycling camp trades when inventory clogs.
- Chest opener processing when miners return with loot crates.
Use Camps and Stations for station-by-station priority and Resource Priority Checklist for ore order after the card applies.
When a card grants wall buffs, defer non-emergency stone spend one cycle. When a card grants mining buffs, push one extra miner deeper—but never miss horn audio cues.
Bonus Cards vs Rings and Relics
Rings and Relics covers blacksmith four-choice limits and chest rewards. Rings are personal equipment; bonus cards are team votes. Relics from chest opener results may overlap thematically with card effects—if a chest already granted a damage aura, vote economy or defense on the next card screen instead of duplicating power.
Hub meta unlocks from How to Use the Hub persist between runs; bonus cards reset when the mission ends or the King dies.
Wave Eleven and Endless Implications
Demo playtests reference wave eleven as a milestone where teams choose endless escalation or return to the hub for meta rewards. Bonus card value shifts in endless mode:
- Sustained defense and economy cards compound over horns that never stop.
- Burst damage cards look strong for one horn but fade when repair debt accumulates across fifteen or twenty waves.
- Campfire regen and revive-adjacent cards keep teams alive when attrition would otherwise end endless attempts.
Read Bosses and Elites for milestone pressure that precedes endless choice.
Solo vs Co-op Voting
Co-op: One selfish vote can drag three teammates into a suboptimal card. Build trust by explaining “we need wall card because primary lane was at thirty percent last horn.” Tie votes may default unpredictably—coordinate before clicking.
Solo: You are the voter and the beneficiary. Pick cards that fix your bottleneck: healing if you die between waves, economy if you never have enough ore for arrows, defense if the King took chip damage. Solo difficulty is publicly high—regen cards are not cheating, they are survival.
Common Bonus Card Mistakes
- Treating votes as optional flavor while ignoring them in forge planning.
- Duplicating forge upgrades—voting damage when everyone already rolled combat bonuses at blacksmith.
- Splitting votes without callouts, wasting a card slot on a tie-break nobody wanted.
- Chasing mining cards when walls were breached last horn.
- Forgetting campfire synergy—skipping regen votes then leaving campfire unused during economy phase.
Related Pages
- Builds Hub — Forge upgrades, ammo, and tier lists alongside card votes.
- Forge Upgrades — Personal ore spend versus team card buffs.
- Combat Hub — Where card buffs get tested under horn pressure.
- Items Hub — Station reference for post-vote forging.
Staying Current
Card pools and vote UI may expand during Early Access starting August 11, 2026 at $9.99 USD. Philosophy stays stable: vote team survival first, forge personal power second, mine with the card in mind third.
Frequently Asked Questions
Quick answers to the most common Stonewards questions.
What are bonus cards in Stonewards?
Post-wave lobby votes that grant team-wide buffs for the run—separate from personal blacksmith forge upgrades funded by ore.
How is a bonus card different from a forge upgrade?
Cards are team votes with shared effects. Forge upgrades and ring picks are personal, ore-funded choices at the blacksmith and related stations.
What does a campfire regen card do?
It amplifies healing near the bastion campfire—where teammates revive and recover—letting you fight closer to the fire or defer some armor forge spend.
When do bonus card votes happen?
After a wave clears successfully, before the next mining window. See [How to Play Stonewards](/guides/how-to-play/) for full phase order.
Do bonus cards matter in solo play?
Yes. Solo voters should pick cards that fix their last failure—healing, walls, or economy—because there is no teammate to cover gaps.
How do bonus cards interact with wave eleven?
Sustained defense and economy cards often outperform burst picks in endless mode after the wave eleven milestone. See [Bosses and Elites](/combat/bosses-and-elites/).