Wave Defense in Stonewards
Hold the walls, spend ammo deliberately, and sync mining windows with horn countdowns.
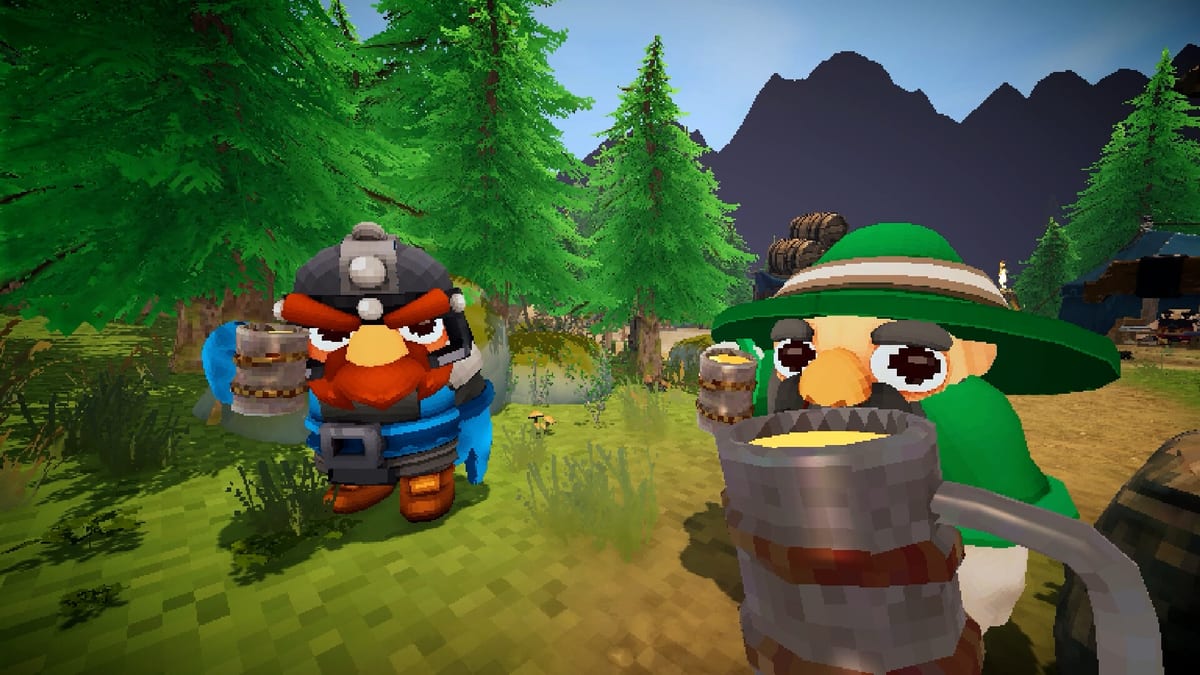
Wave defense is the surface combat layer of Stonewards. When the horn sounds, monsters assault the bastion from multiple approach lanes while your team tries to keep them away from the King. Between horns you mine procedural caves, haul ore back, and forge the ammunition and repairs needed to survive the next escalation. Understanding wave defense means understanding timing: how long you can stay underground, which wall segments must be patched first, and when to stop chasing upgrades and simply craft baseline arrows.
How a Wave Cycle Works
A standard mission alternates two phases. During the assault phase, enemies spawn and path toward the King, testing outer walls and inner corridors depending on breach state. During the economy phase, the horn stops and a countdown implicitly begins—players enter mines, break ore nodes, and return before the next assault. Banana Tiger Studio frames this as dig–forge–defend; wave defense covers the defend portion plus the last-minute forge steps that happen seconds before monsters arrive again.
Runs fail instantly if the King dies. Player dwarves may reposition or consume crafted items, but the monarch is the objective. Wave defense strategy always asks: did our spending and positioning keep damage off the throne this horn?
Pre-Horn Preparation Checklist
Before the next wave, confirm these items as a team or solo runner:
- Primary lane walls repaired to at least functional integrity—not cosmetic side segments monsters ignore.
- Ammunition crafted to a full comfortable stack, not the bare minimum from two horns ago.
- Miners surfaced with ore deposited at the stockpile or forge, not trapped on a deep branch.
- Roles assigned in co-op: who covers elevated sightlines versus choke points near the King.
- Consumables identified—explosive or knockback arrows if your forge rolled them this run.
Use the Wave Prep Planner on this wiki if you want the same steps as an interactive checklist.
Wall Assignments and Lane Discipline
Bastions present multiple approach vectors. Early waves tempt players to spread evenly along the entire perimeter, which dilutes focus fire when one lane spikes in enemy density. Instead, identify the primary lane—the shortest path monsters take toward the King—and keep at least one defender with line of sight on that lane at all times.
Secondary lanes still matter. A single ignored breach can flank primary defenders and force Bastion Fallback. Repair ore should flow to lanes monsters actually used last wave, not the prettiest wall section facing empty terrain. Bastion Layout helps you learn which segments are structural versus decorative before pressure arrives.
Ammo Cadence and Forge Timing
Archers dominate many public demo builds with stack sizes large enough to carry sustained fire if you craft during economy phases. The failure mode is spending an entire mining window on randomized upgrades while entering the horn with half-empty quivers. A practical cadence:
- After early horns: craft enough arrows for one full wave plus a small buffer.
- Mid-run horns: split ore between repairs and ammo unless upgrades directly add crowd control you lack.
- Late horns: prioritize repairs and King-adjacent consumables because enemy density punishes bare walls.
If your team votes on post-wave power-ups in co-op lobby segments, agree whether the chosen buff helps surface combat before someone dumps ore into mining-only bonuses.
Co-op Wave Roles
Groups often stabilize into informal roles even without fixed classes:
- Surface anchor: stays on walls during economy phase when the horn is imminent; covers late miners.
- Primary miner: takes safe shallow nodes first, returns early on horn audio cues.
- Runner: ferries ore from miners to forge/stockpile so crafters never leave the walls unattended.
- Flex defender: fills breach lanes and executes fallback callouts.
Three defenders plus one dedicated miner is a common demo pattern when mining buffs outscale combat rings. That ratio breaks if the miner ignores horn cues—see How to Co-op in Stonewards for recovery habits.
Solo Wave Defense Adjustments
Solo players cannot delegate. Shorten mining trips aggressively: shallow ore near the mine mouth beats deep rare nodes if the next horn arrives while you are still underground. Keep a loaded weapon before entering caves, and repair the primary lane before cosmetic segments. Solo difficulty in public previews is high specifically because timing mistakes have no teammate cover.
Escalation and Milestone Waves
Public playtests reference milestone waves around the eleventh horn, after which teams may continue endless escalation or return to hub rewards. Late waves increase enemy pressure enough that economy mistakes from horns one through five become visible as collapsed walls and empty ammo. Treat mid-run horns as audits: if you barely survived, skip greedy mining next window and stabilize forge output instead.
Common Wave Defense Mistakes
- Chasing depth in caves when stockpile already holds enough ore for repairs and arrows.
- Spreading defenders evenly instead of reinforcing the lane that actually broke last horn.
- Forging upgrades before baseline ammo when quivers were empty at horn start.
- Ignoring audio cues that precede spawns—UI alone is slower than horn sound design.
- Assuming prior wave ease predicts future density; escalation is the default design.
Where to Go Next
When walls routinely collapse inward, read Bastion Fallback. When you lose because the wrong enemy type reaches the King first, read Monster Types. For ore spend order, use Resource Priority Checklist. For cave return timing, pair this page with Mines and Caves and How to Defend the King.
Frequently Asked Questions
Quick answers to the most common Stonewards questions.
What signals the start of a wave in Stonewards?
The horn marks assault phases. Audio cues often precede UI warnings—stay surface-ready when mining if the horn can sound soon.
Should I repair all walls every economy phase?
Repair lanes monsters actually attack first, especially paths toward the King. Full perimeter perfection is rarely ore-efficient early.
How much ammo should I craft before the next horn?
Enough for one full wave plus a buffer. Exact stack sizes depend on forge state; empty quivers at horn start are the main failure signal.
What is the best co-op split for wave defense?
Many groups run three surface defenders and one miner with mining buffs, but any split fails if miners miss horn timing. Flex roles matter more than rigid classes.
Where do I learn fallback when walls break?
Read [Bastion Fallback](/combat/bastion-fallback/) once outer defenses routinely fail. It covers throne-room choke points and retreat callouts.
Does wave defense advice change in Early Access?
Principles stay stable—protect the King, repair primary lanes, craft before horns—but enemy counts and forge values may shift in patches.